
Worm Farm NZ: How to Set Up, Feed and Harvest a Worm Farm
Updated October 2026
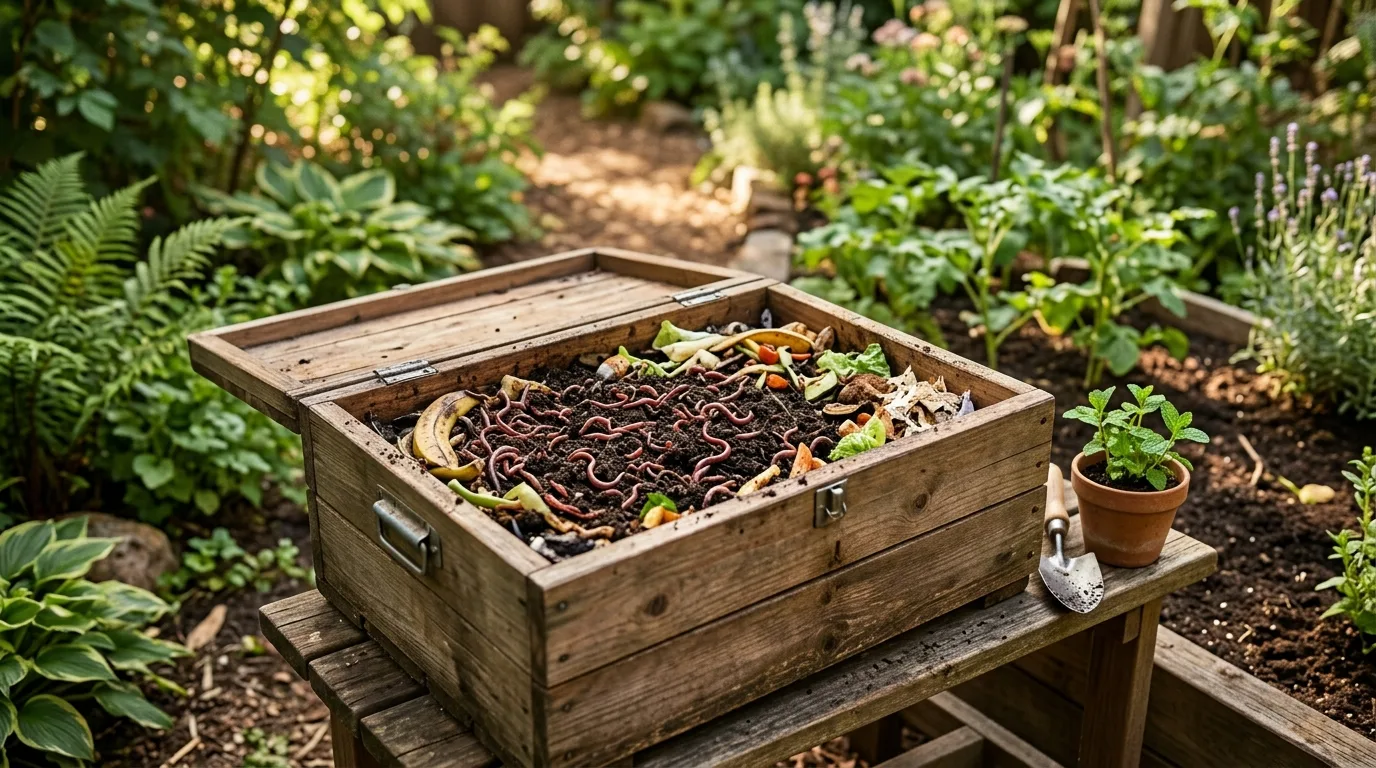
A worm farm is the easiest way to turn kitchen scraps into garden gold, even if you have no garden at all. It fits on a balcony, under the deck or in the shade beside the back door, and it works year round.
The worms do the eating, you do the feeding, and in return you get rich castings and a liquid feed called worm tea. Both are excellent for the garden and far gentler than any bagged fertiliser.
Choosing and setting up your farm
A stacked tray-style worm farm is the standard choice and you will find them in most garden centres. The worms work their way up through the trays as they finish each layer, which makes harvesting the castings simple.
Use tiger worms or red worms, sold by the thousand specifically for worm farming. Garden earthworms will not do the job. Start them on damp shredded paper or coconut fibre as bedding, then begin feeding lightly once they have settled.
How many worms to start with
The composting worms used in New Zealand are tiger worms (Eisenia fetida) and red wrigglers, surface feeders that live in the top layer of rotting matter and breed fast. About a thousand worms is a good start for a home farm, and they build up to fill it within a few months. Garden centres, worm farm suppliers and many council waste programmes sell them. Let the worms settle in their damp bedding for a few days before you feed heavily, then build the feeding up as the population grows.
What to feed your worms
Worms eat most of the same scraps you would compost, but they prefer it soft and chopped small. Feed little and often, and wait until they have worked through one feed before adding the next. Overfeeding is the most common beginner mistake.
Bury each feed under the bedding to keep flies and smells down, and tuck a sheet of damp newspaper or hessian over the top to keep things dark and moist.
- Feed: vegetable and fruit scraps, coffee grounds, tea leaves, crushed eggshells, soft garden waste
- Feed: shredded paper and cardboard in small amounts
- Avoid: meat, fish, dairy and oily food, and large amounts of citrus, onion or garlic
- Small amounts only: bread and plain cooked food
Worm Farming Through the Year in Your Region
Composting worms do best between about 15 and 25 degrees, so the job through the year is keeping the farm cool in summer and buffered from frost in winter. This table gives the average frost window for each of our nine New Zealand regions from our frost dates page.
| Region | Frost window | Worm farm note |
|---|---|---|
| Northland | Effectively frost free | Summer heat is the main risk here, so keep the farm in deep shade. |
| Auckland | Effectively frost free | Summer heat is the main risk here, so keep the farm in deep shade. |
| Waikato & Bay of Plenty | Frosts on average from 5 May to 25 September | Insulate the bin over winter with a hessian sack or a straw bale, and keep it shaded in summer. |
| Central North Island | Frosts on average from 15 April to 15 October | Insulate the bin over winter with a hessian sack or a straw bale, and keep it shaded in summer. |
| Wellington & Lower North Island | Frosts on average from 10 June to 30 August | Insulate the bin over winter with a hessian sack or a straw bale, and keep it shaded in summer. |
| Nelson & Marlborough | Frosts on average from 10 May to 20 September | Insulate the bin over winter with a hessian sack or a straw bale, and keep it shaded in summer. |
| Canterbury | Frosts on average from 20 April to 10 October | Insulate the bin over winter with a hessian sack or a straw bale, and keep it shaded in summer. |
| Otago & Southland | Frosts on average from 5 April to 25 October | Insulate the bin over winter with a hessian sack or a straw bale, and keep it shaded in summer. |
| Central Otago | Frosts on average from 25 March to 5 November | Insulate the bin over winter with a hessian sack or a straw bale, and keep it shaded in summer. |
Overheating in the sun is the quickest way to kill a worm farm in New Zealand, and it can happen in any region, so a spot under a deck, against a south wall or in a shed is the safe choice everywhere. In the frosty regions, from Waikato and the Bay of Plenty south, the same sheltered spot buffers the bin from frost, and a hessian sack or straw bale over it in winter keeps the worms working.
Keeping the farm healthy
Worms are happiest in the shade and out of temperature extremes. Keep the farm out of direct summer sun, which can cook them, and tuck it somewhere sheltered over a cold snap. Coastal wind also dries a farm out, so a sheltered corner helps.
If the farm turns smelly or acidic, ease off the feeding and add a sprinkle of garden lime or crushed eggshell to sweeten it. A handful of dry shredded paper helps soak up excess moisture.
Harvesting castings and worm tea
Worm tea drains from the bottom tap. Dilute it until it looks like weak tea, then water it onto your plants and soil. It is mild enough to use often through the growing season.
The dark crumbly castings are pure plant food. Scoop them from the lowest finished tray and dig a handful through the soil around hungry plants, or mix them into seed-raising and potting mixes for a gentle boost.
Common Worm Farm Problems
- Fruit flies: bury fresh food under the bedding and stop overfeeding.
- Ants: the bin is usually too dry, so dampen it and stand the legs in water.
- A soggy bin: mix in dry shredded paper or cardboard and check the drainage tap is clear, because worms drown in a waterlogged farm.
- Rats: keep meat, dairy and fat out entirely and secure the lid.
Our worm farm troubleshooting page covers each problem in more detail.
Worm Farm, Compost Bin or Bokashi?
A worm farm handles kitchen scraps in a small space and gives you concentrated castings and worm tea. A compost bin takes the bulky garden waste, and a bokashi bucket ferments the scraps worms dislike, such as meat, dairy, onion and citrus. Many households run a compost bin for the garden and a worm farm or bokashi for the kitchen. Our composting guide covers the compost side, and many councils subsidise worm farms, compost bins and bokashi systems, often after a free workshop; our free council gardening stuff page lists examples.
Frequently Asked Questions
Where should I put my worm farm?
Somewhere shaded and sheltered, out of direct sun and harsh wind. Under a deck, against a south wall or in a shady corner all work well. The aim is to keep the worms cool in summer and protected from frost in winter.
Why are my worms trying to escape?
Worms climb the walls when conditions are wrong, usually too wet, too acidic or too much uneaten food. Stop feeding for a week, add dry shredded paper and a little lime, and they will settle back down.
Can I use worm tea straight on plants?
Always dilute it first until it is the colour of weak tea. Used neat it can be too strong. Diluted, it is a gentle liquid feed you can apply every week or two through the growing season.
What worms do I need for a worm farm in NZ?
Tiger worms (Eisenia fetida) and red wrigglers, the composting worms sold for worm farming. Garden earthworms will not survive in a worm farm.
How many worms do I need to start a worm farm?
About a thousand composting worms is a good starter amount for a home worm farm. They breed to match the food and space, filling the farm within a few months.
How often should I feed my worm farm?
Little and often. Add food in one corner and wait until the worms are working through it before adding more. Food piling up faster than they can eat it is what causes smells and pests.
Can I get a cheap worm farm from my council?
Many New Zealand councils subsidise worm farms, compost bins and bokashi systems, often after a free workshop. Search your council website for compost or food scraps to see what is offered near you.